
Step 1: Open the Creative Cloud app
First, we need to open the Creative Cloud app, the same app we used in the previous tutorial when we learned how to keep Photoshop up to date. And the easiest way to open it is from within Photoshop.
In Photoshop, go up to the Help menu in the Menu Bar and choose Updates:
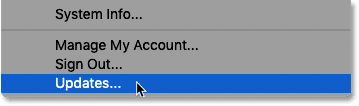
Going to Help > Updates in Photoshop.
Step 2: Scroll down to Bridge
The Creative Cloud app opens with a list of all the Adobe software currently installed on your computer. And below that is a list of other apps that are available. The number of available apps depends on your Creative Cloud subscription, but Bridge is included with all of them.
Scroll down the list until you see Bridge:
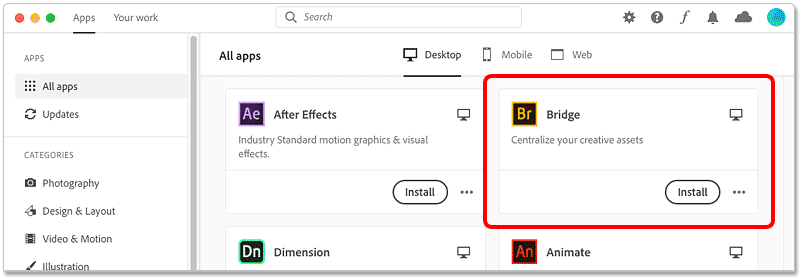
Scrolling through the list to find the Bridge app.
Step 3: Click “Install”
Then to install Bridge, simply click the Install button:
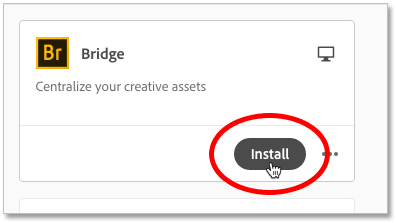
Installing Bridge.
The installation can take a few minutes:
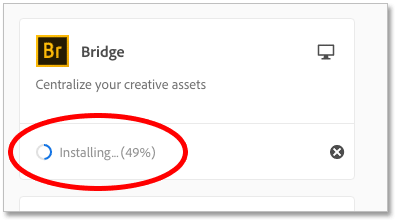
The progress indicator.
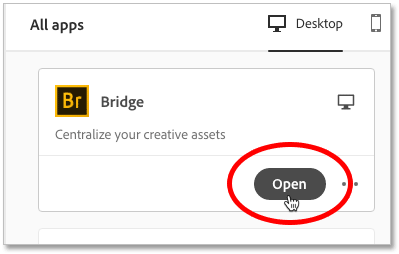
When it’s done, Bridge will move up the list in the Creative Cloud app so it appears with your other installed software. You can now open Bridge at any time from within the Creative Cloud app by clicking the Open button.
Bridge can also be opened from within Photoshop, as we’ll see in the next chapter when we learn how to open images into Photoshop from Bridge:
Installed apps show an “Open” button instead of “Install”.


